Customer Management
The Customer Management system in SkipTrack allows you to manage all your customers and their information efficiently. This comprehensive guide covers creating, reading, updating, and deleting customer records, as well as managing customer sites and viewing order history.
Overview
Customer management is essential for waste collection operations. Each customer can have multiple delivery sites, and the system tracks all their orders and service history. The customer management system provides a complete view of your business relationships and operational requirements.
Customer List View
Click on "Customers" in the navigation menu to access the customer management area:
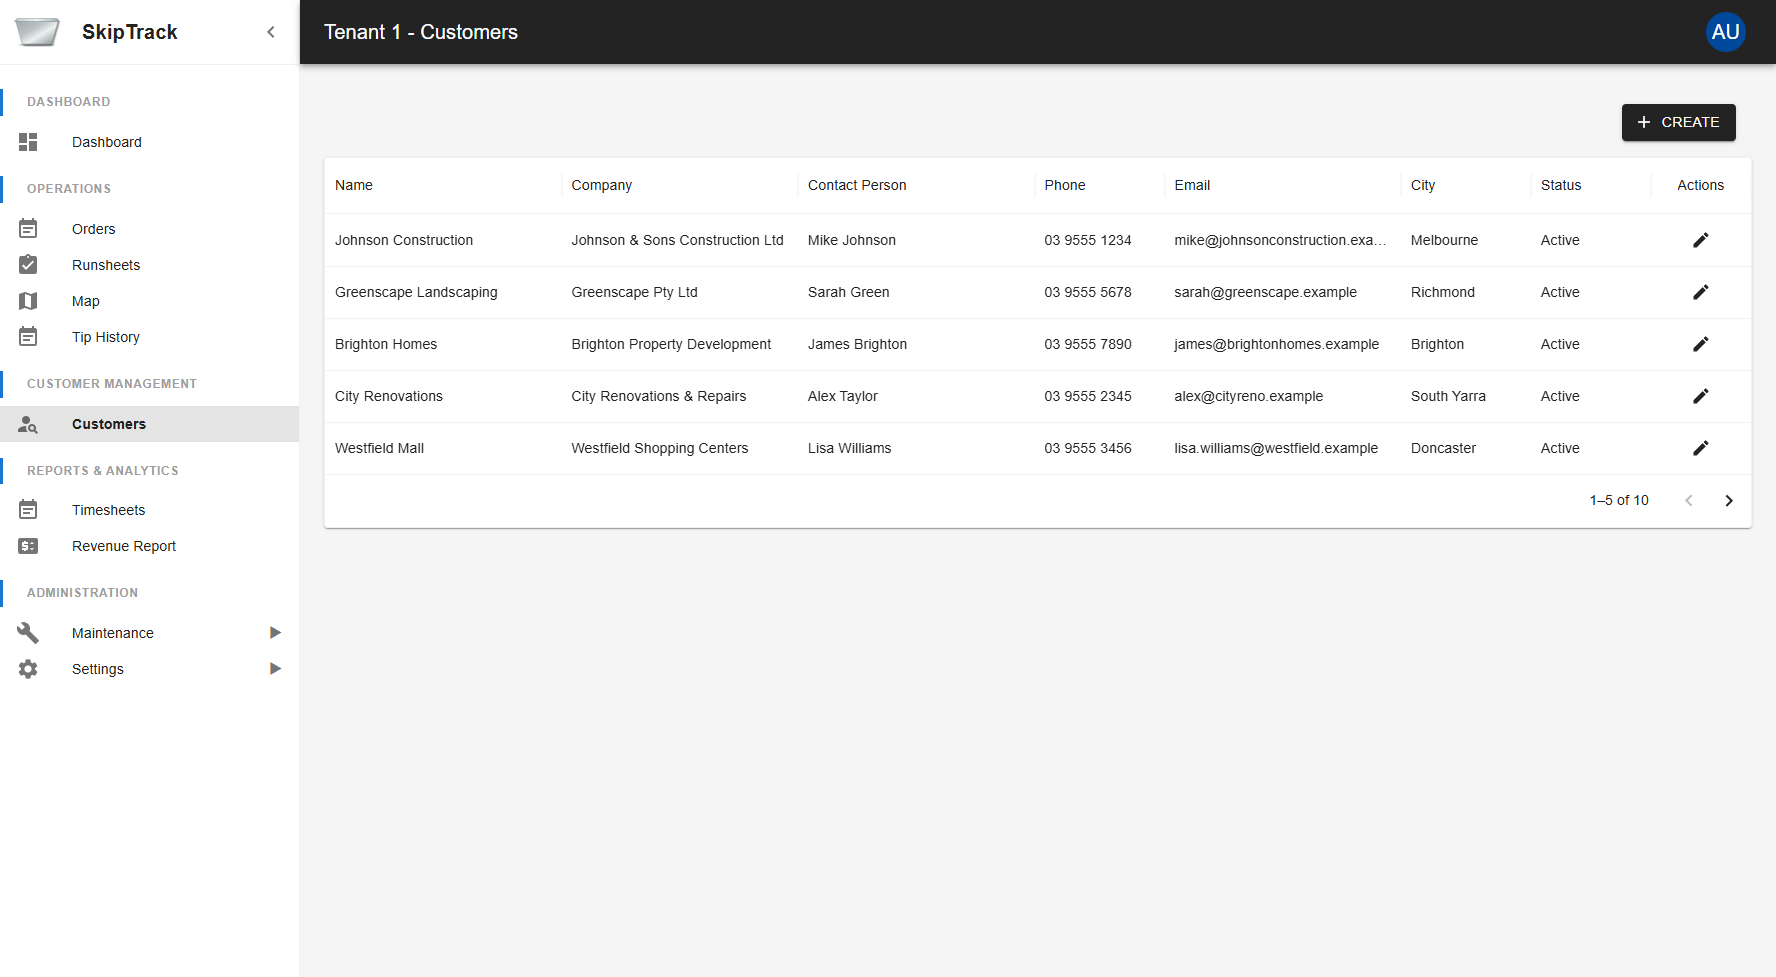
What You'll See
The customer list displays all your customers in an easy-to-read table format:
- Name: Customer's full name or business name
- Company: Company name (if different from customer name)
- Contact Person: Primary contact at the company
- Phone: Primary phone number
- Email: Primary email address
- City: Customer's city location
- Status: Active or Inactive status
Key Features
- Search and Filter: Use the search functionality to quickly find specific customers
- Sorting: Click any column header to sort customers
- Pagination: Navigate through large customer lists easily
- Actions: View or edit customers directly from the list
Actions Available
- Edit: Modify customer information (Edit button)
- Create New: Create a new customer (CREATE button)
Creating a New Customer
Step 1: Start Customer Creation
- From the customer list, click the CREATE button
- You'll be taken to the "Create Customer" form
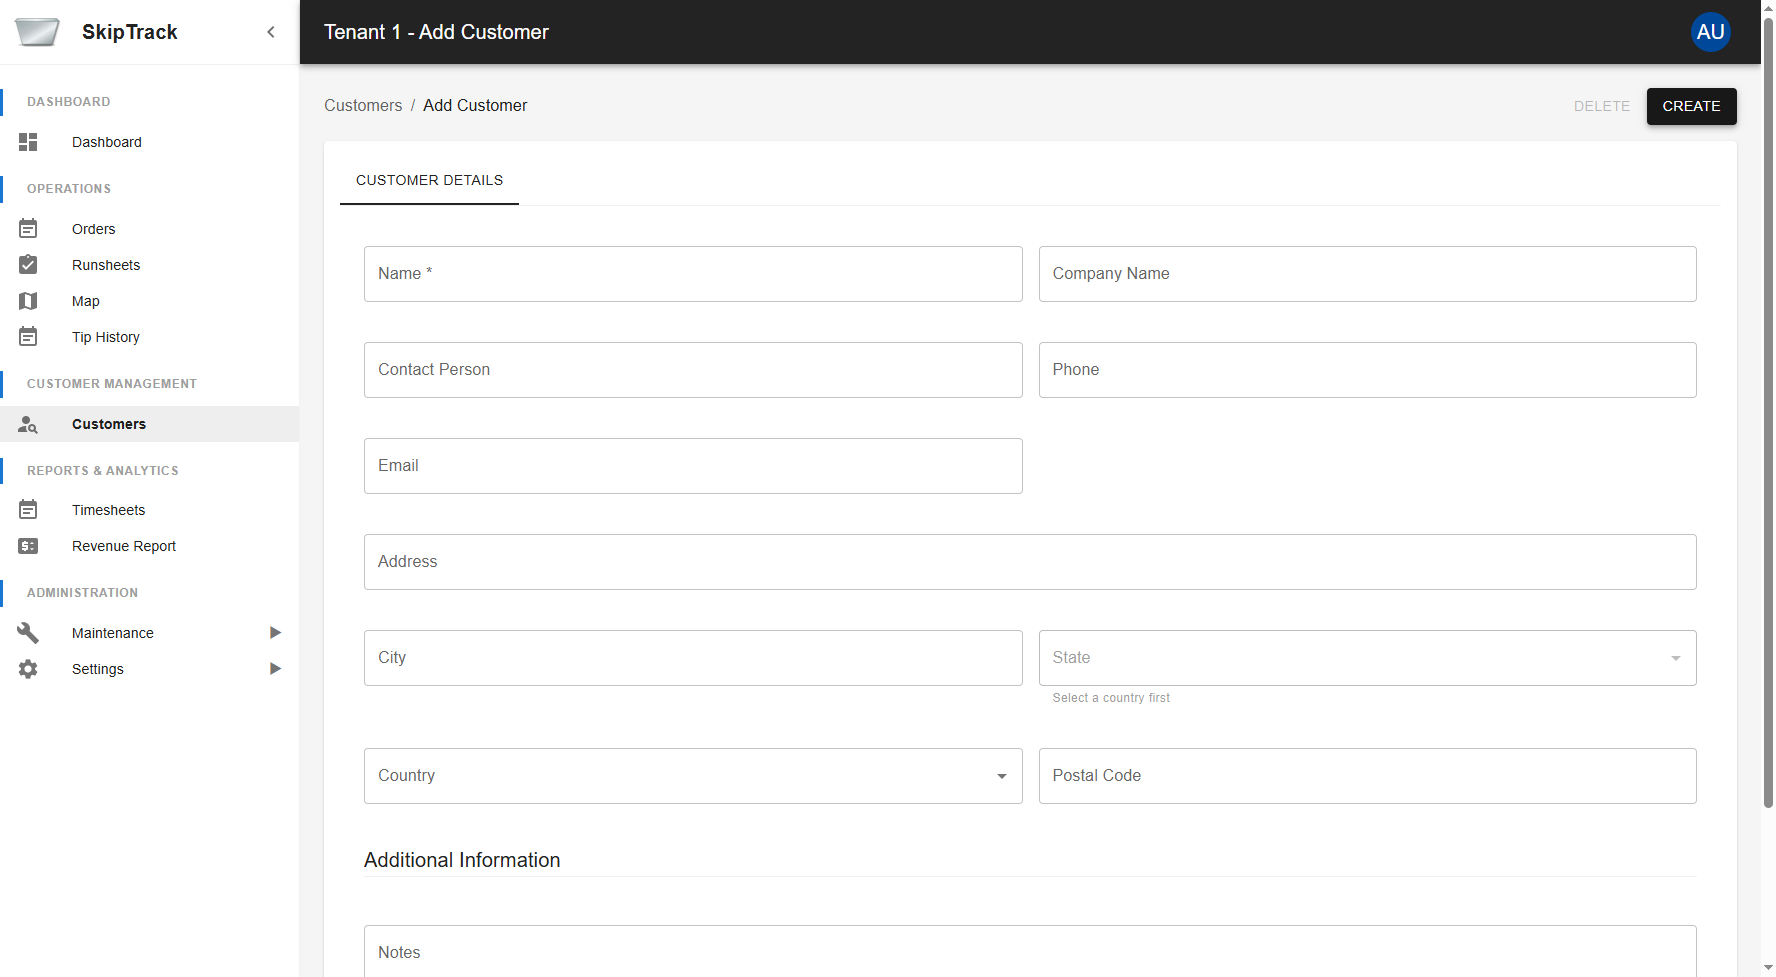
Step 2: Fill Out Customer Information
Basic Information
- Name* (Required): Customer's full name or primary business name
- Company Name: Official business name if different from customer name
- Contact Person: Primary contact person at the business
- Phone: Primary contact phone number
- Email: Primary email address for communications
Address Information
The system provides comprehensive address fields:
- Address: Street address
- City: City/town name
- State: State or province
- Country: Country selection
- Postal Code: ZIP/postal code
Additional Information
- Notes: Internal notes about the customer (delivery instructions, special requirements, etc.)
- Active: Check this box to make the customer active (checked by default)
Step 3: Save the Customer
- Click Save to save the new customer
- You'll see a success message confirming creation
- The system will navigate back to the customer list
Validation Rules
- Name is required and must not be empty
- Email must be in valid email format if provided
- Phone should be in valid phone number format if provided
- All other fields are optional
Editing Customer Information
Starting an Edit
- From the customer list, click the Edit button for the desired customer
- You'll be taken to the customer edit form
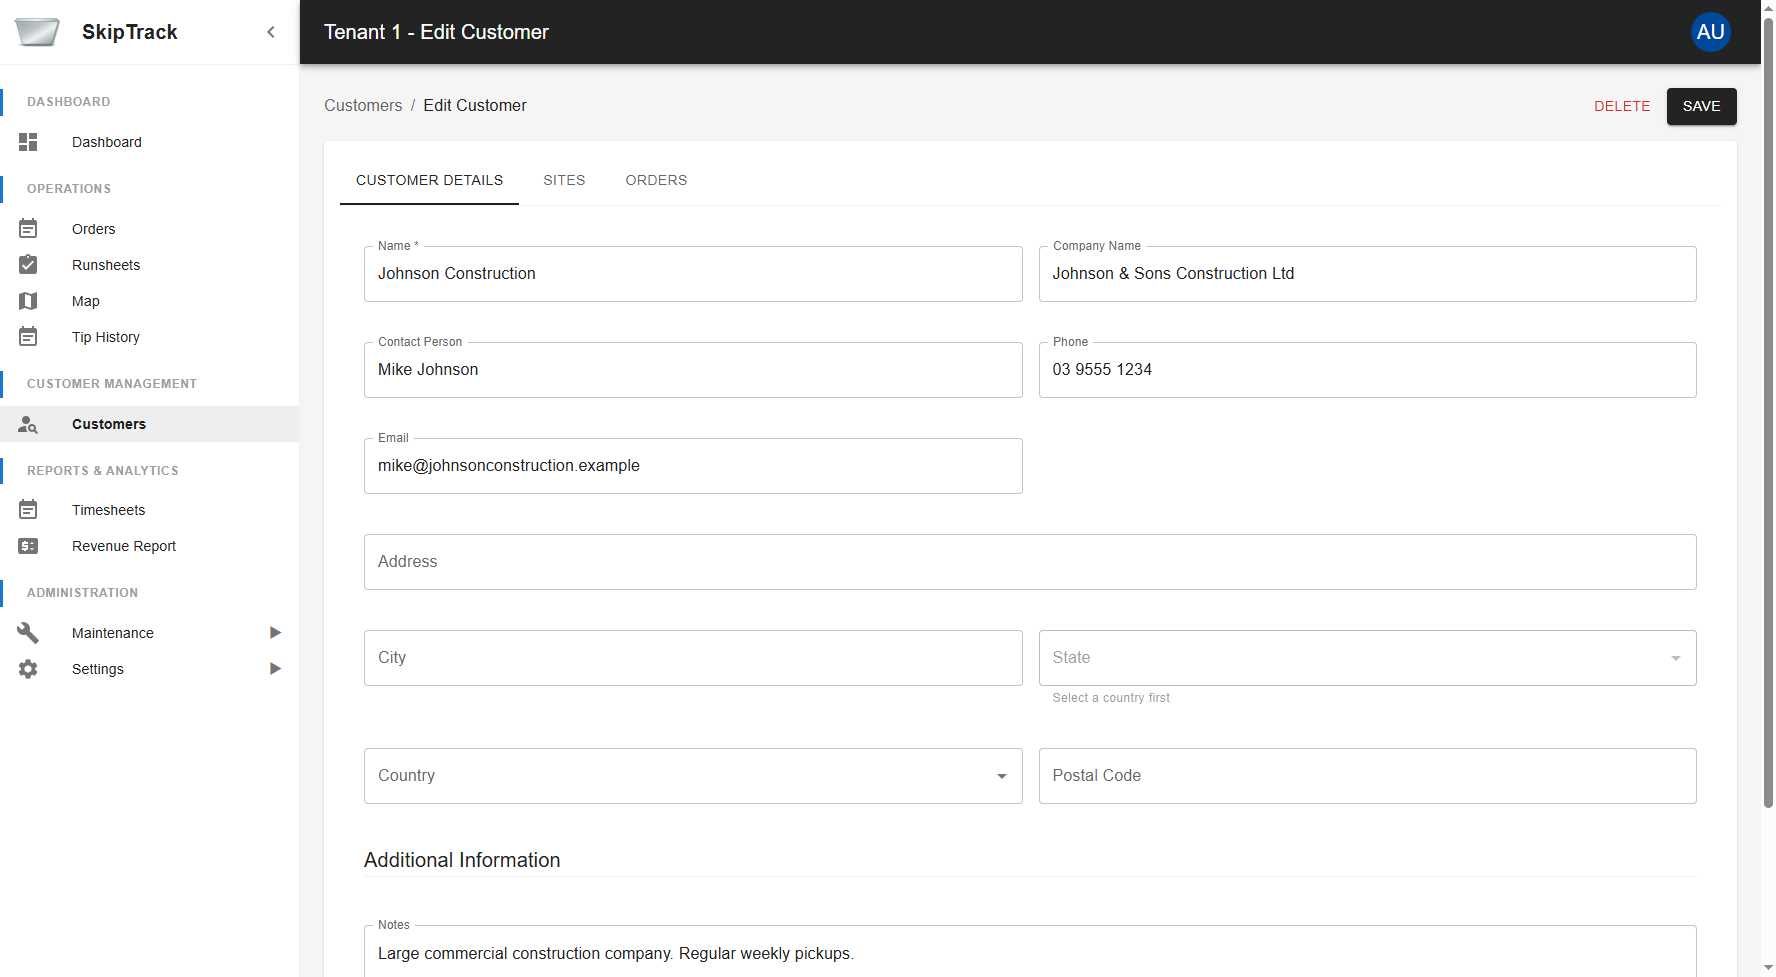
Making Changes
- Modify any field as needed (same fields as creation)
- Address Updates: The system will re-validate addresses if changed
- Status Changes: You can activate/deactivate customers as needed
Saving Changes
- Click Save to update the customer
- You'll see a confirmation message
- Changes are immediately reflected in the system
Validation During Editing
- Same validation rules apply as creation
- System prevents saving invalid data
- Clear error messages guide you to fix issues
Customer Detail Tabs
The customer detail/edit view is organized into three main tabs:
Tab 1: Customer Information
Shows all basic customer details in the edit form (as shown above)
Tab 2: Customer Sites
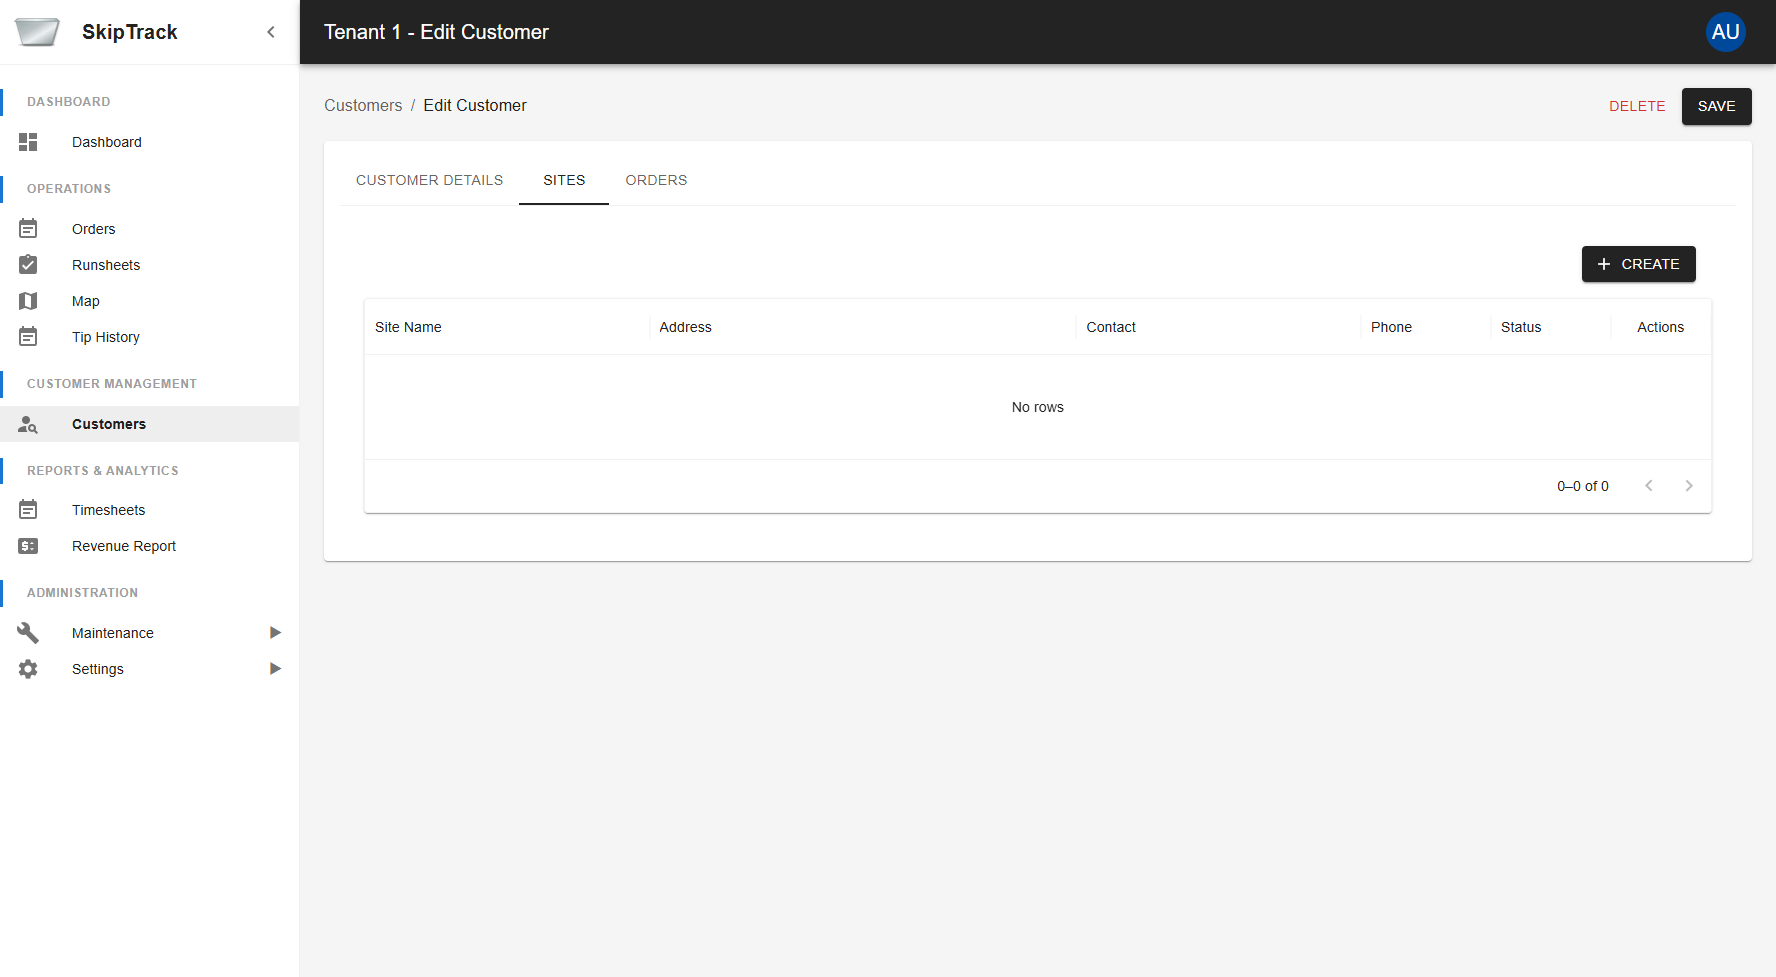
The Sites tab displays all delivery locations associated with this customer:
- Site Management: Add new sites using the CREATE button
- Site Details: Each site shows name, address, contact information
- Multiple Locations: Support for customers with multiple delivery addresses
- Empty State: When no sites exist, you'll see an empty table with option to create
Adding New Sites
- Go to the Sites tab in customer details
- Click CREATE button
- Fill out site information:
- Site Name: Descriptive name for the location
- Address: Complete address information
- Contact Details: Site-specific contact person and phone
- Special Instructions: Delivery or access notes
Tab 3: Order History
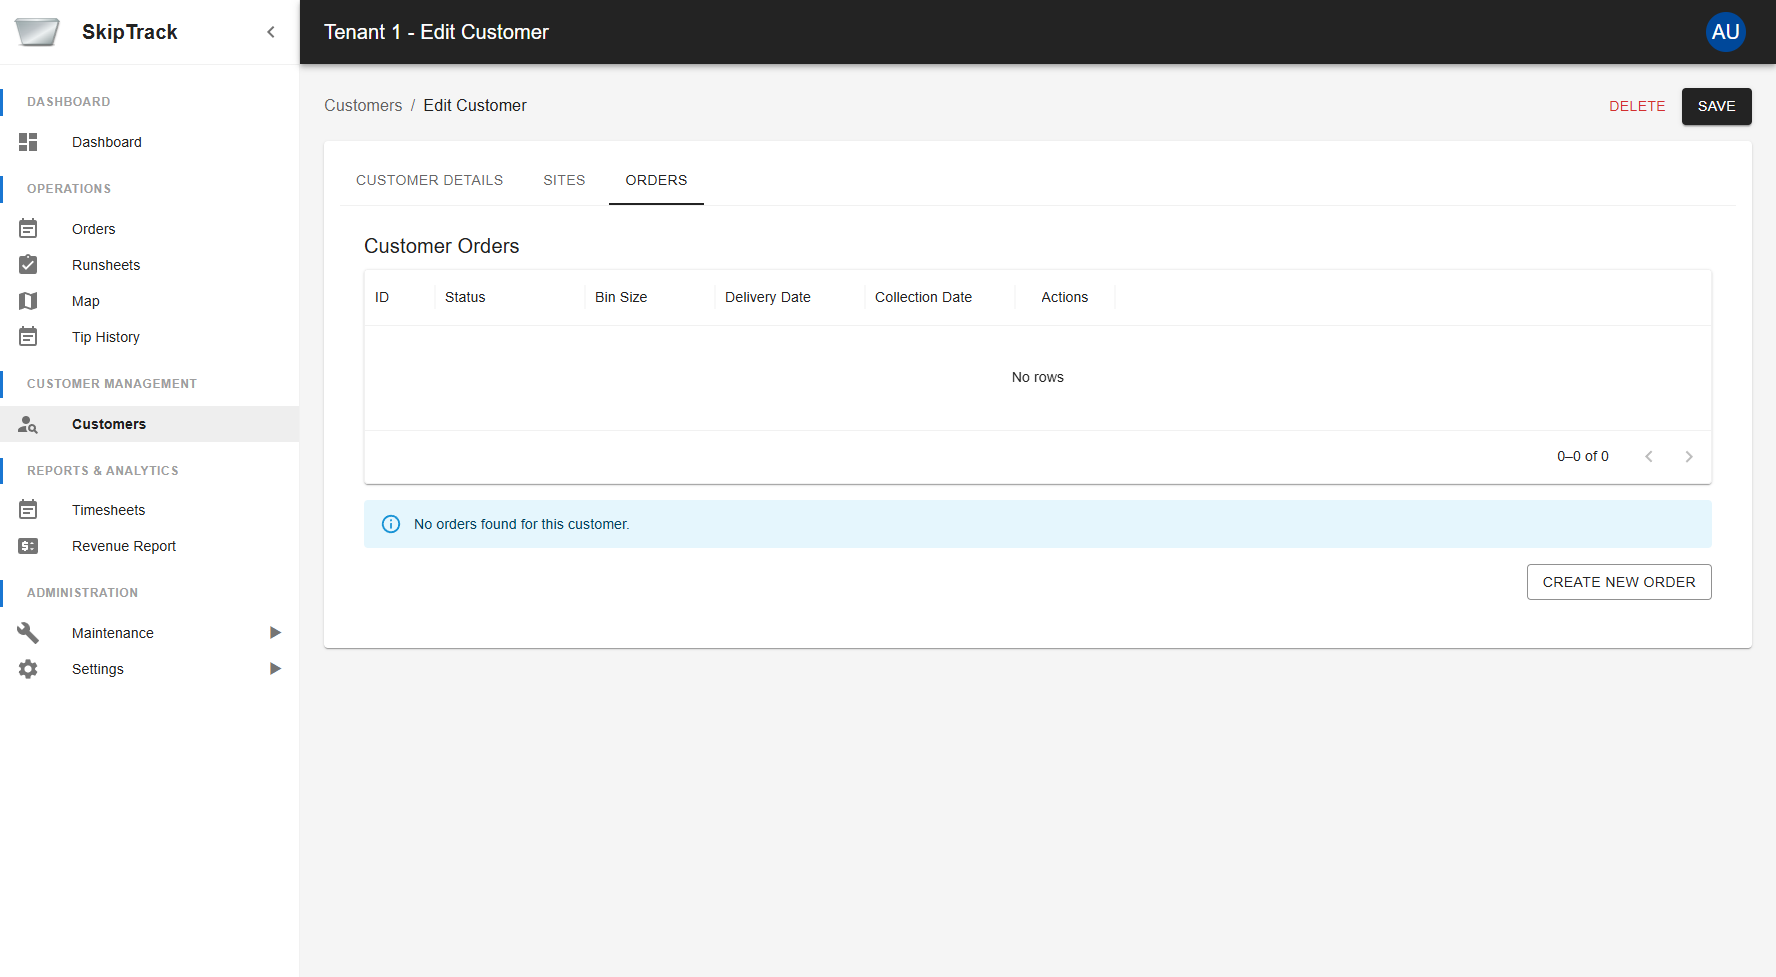
The Orders tab shows complete order history for the customer:
- Order List: All orders placed by this customer
- Order Details: Order information in a structured table
- Quick Actions: View or manage specific orders
- Create New Order: CREATE button to quickly add orders for this customer
- Empty State: When no orders exist, you'll see an empty table
Navigation and User Interface
Breadcrumb Navigation
The system provides clear breadcrumb navigation:
- Customers → Takes you back to the customer list
- Customer Name → Current customer being viewed/edited
Tab Interface
All customer details are organized in intuitive tabs:
- Customer: Basic information and editing
- Sites: Delivery location management
- Orders: Order history and creation
Consistent Actions
- CREATE: Add new items (customers, sites, orders)
- Edit: Modify existing information
- Save: Confirm changes
- Cancel: Abandon changes
Deleting Customers
Note: The current interface does not show a separate delete function. Customer deactivation is handled through the "Active" checkbox in the edit form. To remove a customer from active use:
- Edit the customer
- Uncheck the "Active" checkbox
- Save the changes
This preserves historical data while removing the customer from active operations.
⚠️ Best Practice: Deactivate customers instead of permanent deletion to maintain order history and audit trails.
Managing Customer Sites
What are Customer Sites?
Customer sites are specific delivery locations for each customer. A single customer can have multiple sites (e.g., main office, warehouse, branch locations).
Adding New Sites
- Go to customer details page
- Click the Sites tab
- Click CREATE button
- Fill out site information:
- Site Name: Descriptive name for the location
- Address: Complete address information
- Contact Details: Site-specific contact person and phone
- Special Instructions: Delivery or access notes
Managing Existing Sites
- Edit Sites: Update site information as needed
- Delete Sites: Remove sites no longer in use
- Activate/Deactivate: Control which sites are available for new orders
Best Practices
Customer Data Management
- Consistent Naming: Use consistent naming conventions for customers
- Complete Information: Fill out as much information as possible for better service
- Regular Updates: Keep contact information current
- Notes Usage: Use the notes field for important operational information
Address Management
- Accurate Addresses: Ensure delivery addresses are precise
- Multiple Sites: Set up separate sites for different delivery locations
- Contact Information: Include site-specific contacts when possible
Status Management
- Active Status: Keep only current customers active
- Deactivate Instead of Delete: Preserve historical data by deactivating
- Regular Reviews: Periodically review customer status
Common Workflows
New Customer Onboarding
- Create Customer Record with basic information using CREATE button
- Add Primary Site via the Sites tab
- Add Additional Sites if customer has multiple locations
- Create First Order through the Orders tab
- Update Notes with any special requirements learned
Customer Information Updates
- Navigate to Customer: Find customer in list and click Edit
- Update Information: Modify fields as needed
- Switch Tabs: Update sites and review orders as necessary
- Save Changes: Confirm all updates
Managing Customer Sites
- Access Sites Tab: Navigate to customer and click Sites tab
- Add New Sites: Use CREATE button for new delivery locations
- Manage Existing: Edit or remove sites as needed
- Coordinate with Orders: Ensure sites align with order requirements
Troubleshooting
Common Issues
Customer Won't Save
- Check all required fields are filled (Name is required)
- Verify email format is correct
- Ensure form validation passes
Can't Delete Customer
- Use the Active checkbox to deactivate instead of delete
- This preserves historical data while removing from active use
Can't Find Customer
- Use search functionality in customer list
- Check if customer is marked as inactive
- Verify correct tenant is selected
Sites Not Displaying
- Refresh the page
- Check if you have permission to view sites
- Verify customer has associated sites
Orders Not Loading
- Check internet connection
- Verify customer has placed orders
- Refresh the Orders tab
Getting Help
If you encounter issues:
- Try refreshing the page
- Check your internet connection
- Verify your user permissions with your administrator
- Contact technical support if issues persist
Security and Permissions
Required Permissions
To work with customers, you need appropriate permissions:
- View Permission: See customer list and details
- Create/Edit/Delete Permission: Modify customer information
- Site Management: Add/edit customer sites
Data Security
- Only authorized users can view/modify customer information
- Regular backups protect against data loss
Integration with Other Features
Order Management
- Customers are linked to all their orders
- Order creation requires customer selection
- Order history is available in customer details
Site Management
- Multiple delivery locations per customer
- Site-specific contact information
- Integration with delivery scheduling
Reporting
- Customer data feeds into various reports
- Service history tracking
- Revenue analysis by customer
The Customer Management system is the foundation of your waste collection operations. Proper customer data management ensures smooth operations, accurate billing, and excellent customer service. The intuitive interface with tabbed navigation makes it easy to manage all aspects of your customer relationships efficiently.